Some Tips from a Seed-Starting Pro
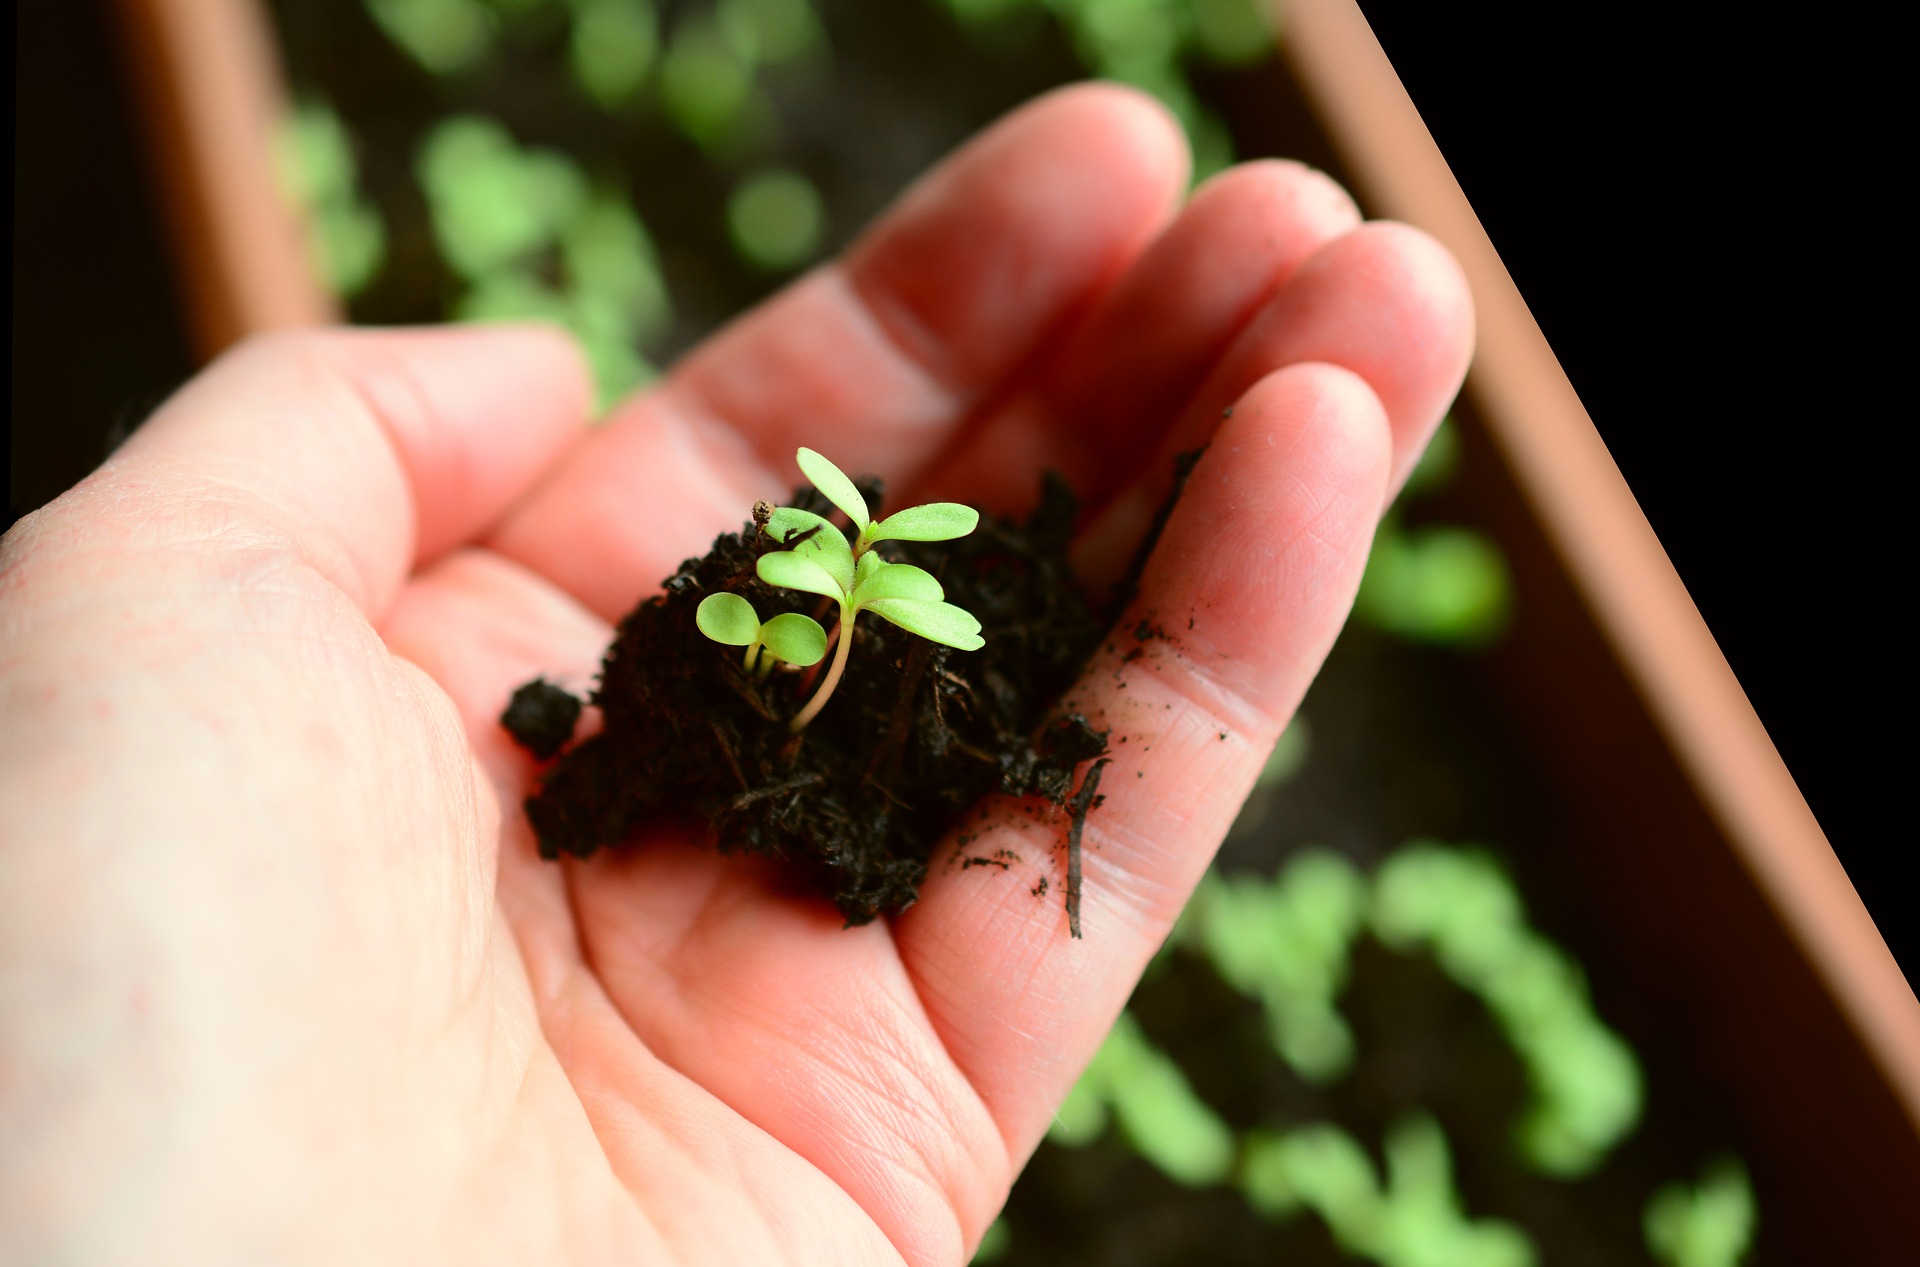
When seedlings have produced their first mature-type leaves, they can be gently lifted from the seed-starting pot and replanted individually in peat pots or cell packs.
By Thomas Christopher
I’ve got a thrifty wife. Suzanne looks askance at the enthusiastic expenditure I devote to vegetable and flower seeds every spring. She doesn’t begrudge me my fun in the garden; she’s an enthusiastic participant herself. But she knows that I have no resistance to the catalogs, and that I will inevitably buy more seeds than I will plant. As she has pointed out, I do this year after year because, out of fear that older seeds will not prove viable, I feel obliged to discard all unused packets at season’s end.
That’s quite likely a waste, says Michael Ruggiero, senior curator emeritus at the New York Botanical Garden. Mike has been my gardening mentor ever since I was a student at NYBG several decades ago, and he took me under his wing. Over the years Mike has explored almost every aspect of horticulture from hybridizing daylilies and orchids to starting every imaginable kind of seed. Indeed, when he was managing the Botanical Garden’s displays of annual flowers, he started many thousands of plants from seed every year. Critically, he also kept notes on what he did and how the various practices worked.
These days, although officially retired, Mike is still teaching classes at NYBG on various aspects of gardening, including an annual course on plant propagation. I checked with him recently to see what his advice on seed starting would be.
Mike told me to check the germination rate of any left-over seeds before disposing of them. To do this, lay out a sample of the seeds between two moist paper towels, place this in a plastic bag to keep it moist and place the bag where the temperature stays at 65-70° F. Check your seeds daily, and when they do sprout, calculate the percentage of germination (this is easy to do if you use a sample of 10 seeds). A germination rate of more than 70 percent indicates that the seeds are still reliably viable, and ready for planting, though you may wish to boost the planting rate to compensate for the seeds that won’t sprout.
To help preserve the viability of unused seeds, store them in a cool, dry place, such as a sealed jar in the refrigerator. To make sure the seeds stay dry, you can wrap a couple of tablespoons of powdered milk in facial tissue and include that in the sealed jar to act as a desiccant.
Mike endorsed my habit of using one of the peat-based seed-starting mixes available at most garden centers as the medium into which to sow my seeds. I generally avoid the use of peat in the garden because it is produced by strip-mining bogs. However, I make an exception for seed starting because not only does a peat-based mix provide an ideal, moisture-retentive medium for seed growth, it is also antiseptic. Fungal diseases are likely to attack seedlings sown into soil-based mixes. I have never experienced this when I have used a peat-based mix.
Wet the mix with warm water until it is as moist as a wrung-out sponge, and with it fill a shallow 4-inch pot to within a half-inch of its top. Plant the seeds at the depth recommended on the packet and then cover with plastic wrap held in place with a rubber band. Keep the seed containers at 65-70° F, out of direct sunlight. Remove the plastic covering as soon as the seedlings poke their stems and leaflets above the soil. Keep moist, but do not soak. When the seedlings have produced their first mature-type leaves, they can be gently lifted from the seed-starting pot and replanted individually in peat pots or cell packs – I fill these containers with the peat-based mix, too, to protect seedling health. Because such peat-based mixtures are without nutrients, you need to start a fertilization program immediately.
I prefer to grow my seedlings under artificial lights rather than on the windowsill. I have used ordinary “shop-light” fluorescent fixtures for this, with good success, pairing each cool white tube with another warm white one. Last year, I experimented with LED lights but found the grow-light fixture I had been sold did not produce a strong enough light.
Mike also taught me to keep notes about everything I sow. As he says, the worst thing is not to fail and not know why. The worst thing, the most annoying thing, is to succeed and not know why you did, so that you cannot replicate the success. That’s why your pencil or pen is such a powerful gardening tool.
Be-a-Better-Gardener is a community service of Berkshire Botanical Garden located in Stockbridge, MA. Its mission to provide knowledge of gardeningand the environment through a diverse range of classes and programs bothinforms and inspires thousands of students and visitors each year. Thomas Christopher is a volunteer at Berkshire Botanical Garden and is the author or co-author of more than a dozen books, including Nature into Art, The Gardens of Wave Hill (Timber press, 2019). His companion broadcast to this column, Growing Greener, streams on WESUFM.org berkshirebotanical.org.

 Thomas Christopher is the co-author of “Garden Revolution” (Timber Press, 2016) and is a volunteer at Berkshire Botanical Garden. berkshirebotanical.org Be-a-Better-Gardener is a community service of Berkshire Botanical Garden, one of the nation’s oldest botanical gardens in Stockbridge, MA. Its mission to provide knowledge of gardening and the environment through 25 display gardens and a diverse range of classes informs and inspires thousands of students and visitors on horticultural topics every year. Thomas Christopher is the co-author of Garden Revolution (Timber press, 2016) and is a volunteer at Berkshire Botanical Garden. berkshirebotanical.org.


